I hope you're having a fabulous holiday. Thank you so much for your support and friendship over the past year. It mean a lot to me.
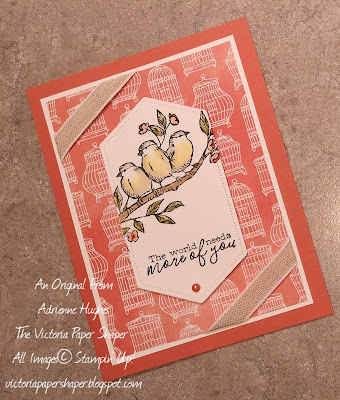
This card came to be as a thank you for Gavin, of The Music Exchange, in Kona, Hawaii. When I was there last month he showed me so much patience, humour and aloha. It took me 2 days to finally decided which one to buy. I now have a stunning Big Island Koa Ukulele. As I was finishing the card, I remembered I already gave him a thank you card when I was there. Oops. Plan B, this card is also PERFECT for my ukulele instructor. I missed seeing her before Christmas so a thank you card is just right.
Start with a card base of Whisper White Cardstock, measuring 5 1/2" x 8 1/2". This stunning Designer Series Paper (DSP), and just about everything but the Snowman, comes from the new Tropical Oasis Suite. All items in green come from that suite. Trim a piece of the Tropical Oasis DSP to 4 1/8" x 5 3/8". From the centre of this piece, cut out the largest oval from the Layering Ovals Dies. From the centre of this oval, cut or punch out about a 1" circle for his Aloha shirt. You'll also need a 3 5/8" x 4 7/8" piece and some scraps of Whisper White and a 3 1/2" x 4 3/4" piece of Old Olive Cardstock. Emboss your piece of Old Olive with the Coast Weave 3D Embossing Folder.
Stamp the snowman, from the Snowman Season Stamp Set in Memento Ink on a scrap of Whisper White and cut it out with the largest oval die from the Stitched Shapes Dies. Colour the tree with the Light Old Olive Blends, the scarf with the Dark Real Red Blends and the nose with the Dark Pumpkin Pie Blends. Put a tiny amount of Multipurpose Liquid Glue on each of the snowflakes and sprinkle some Dazzling Diamonds Stampin' Glitter onto the wet glue. Set this aside to dry.
Stamp the greeting, from the Timeless Tropical Stamp Set, with your Old Olive Classic Stampin' Pad onto a little scrap of Whisper White. I just used my paper trimmer to make it the size I wanted, which is 1 1/2" x just shy of 3/4".
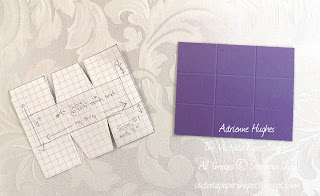
Cut out the two halves of the shirt from the circle of DSP. (Tip: I made a template from Whisper White first. Once I was happy with it, I trimmed the DSP to match. Although it may not show up in the photo, I did include a tiny collar on the shirt.) When the snowflakes are dry, attach the shirt with Multipurpose Liquid Glue. It will give you a moment to reposition it if you don't get it right the first time.
Attach the rectangular piece of DSP to the card front with your Snail. Using Multipurpose Liquid Glue, attach the Old Olive to the piece of Whisper White. Then attach this piece to the card front with your liquid glue. With your Snail, attach the snowman to the DSP oval. I used Stampin' Dimensionals to attach the oval to the card.
Trim a 2 1/2" piece of the Braided Burlap Trim. Unravel the ends (about 1/2" on each side.) Use some liquid glue to it to attach it to the card front. Attach your greeting with Mini Stampin' Dimensionals. (Tip: Trim them to little slivers to go only at the top and bottom of the greeting, rather than trying to have them stick to the burlap trim.)
Finally, attach the adorable ukulele embellishment to the snowman, with 2 Mini Glue Dots. And you are done!
I'm SO excited for Sale-A-Bration! (Which starts Jan 3rd.) When you become a Member, by join my team, you'll get a FREE Mini Paper Trimmer, a FREE 6x6 Designer Series Paper Sample Pack and a FREE stamp set of your choice.* This is all in addition the getting $165 worth of product of your choice for only $135. There are tons of benefits to joining. Message me if you want more information.
For all your paper crafting needs, click HERE
to go to my shop. Our current Host Code can be found to the right of this
post, underneath the image of the catalogue. Please use it on orders
under $200, unless you're joining.
See you next year.
See you next year.
Cheers,
Adrienne


